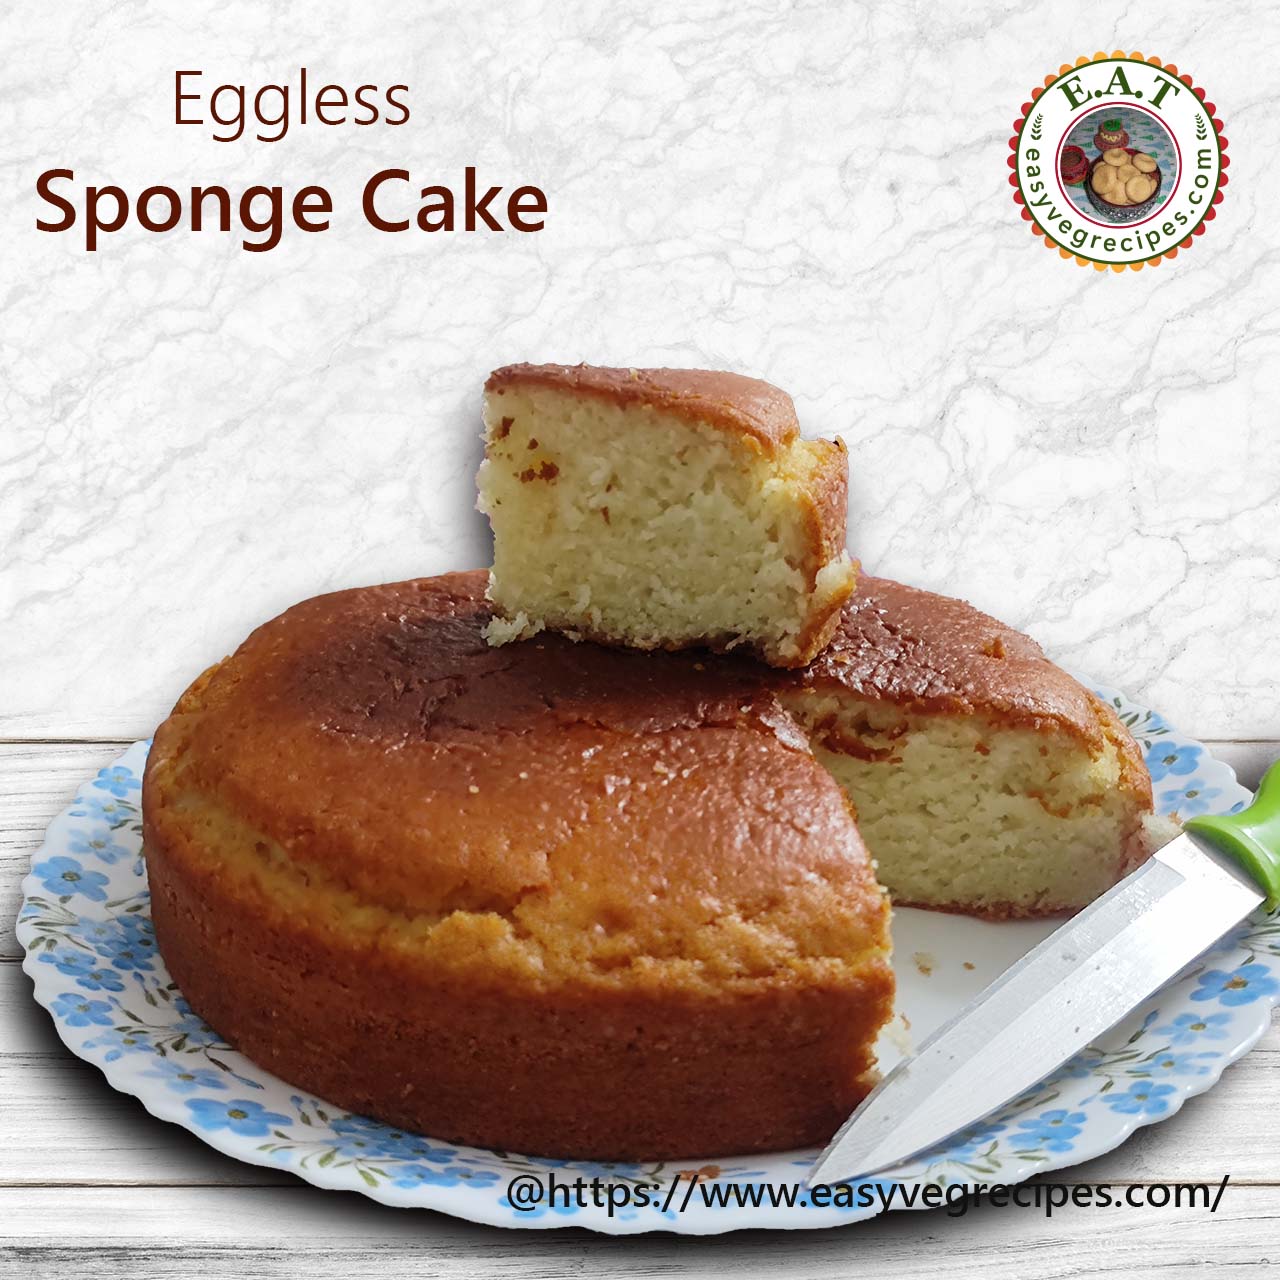
This sponge eggless cake recipe is also interesting, we can add dry fruits too in this. You can find some other eggless cakes recipes in the website. I always prefer to bake eggless only. I already posted one variety of eggless sponge cake in the website, but this recipe is completely different from the previous one, so I am posting it again.
Check out other Baking recipes:
Eggless chocolate muffins
Tutti Frutti cookies
Nankhatai
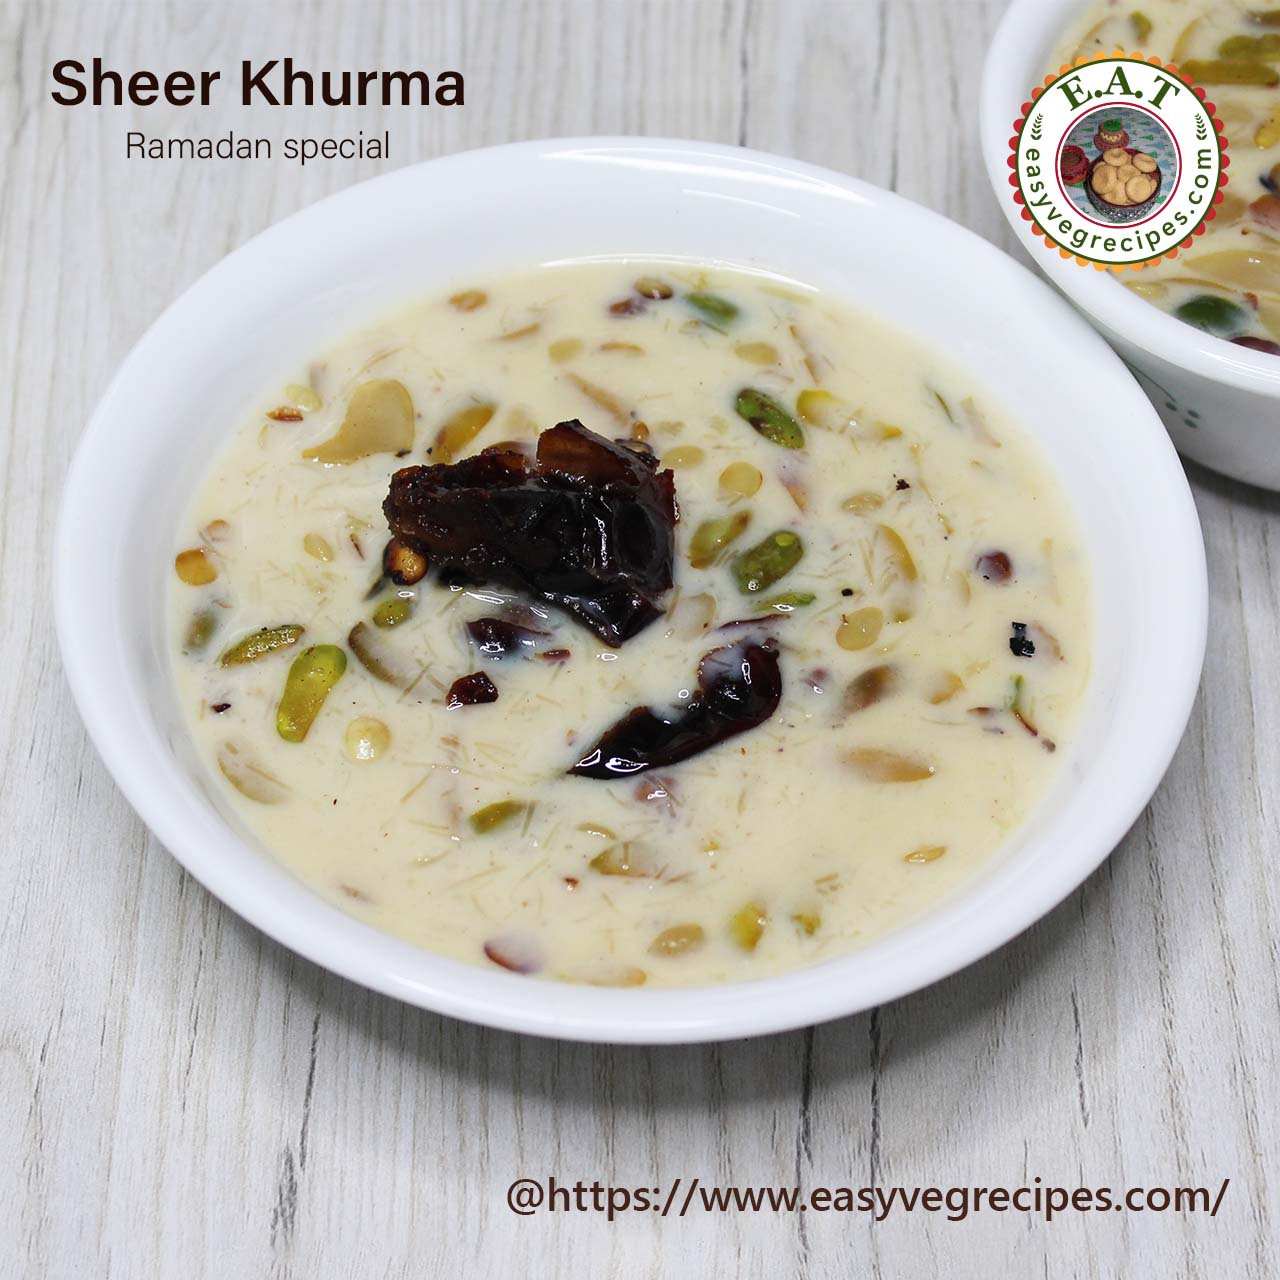
Eggless sponge cake
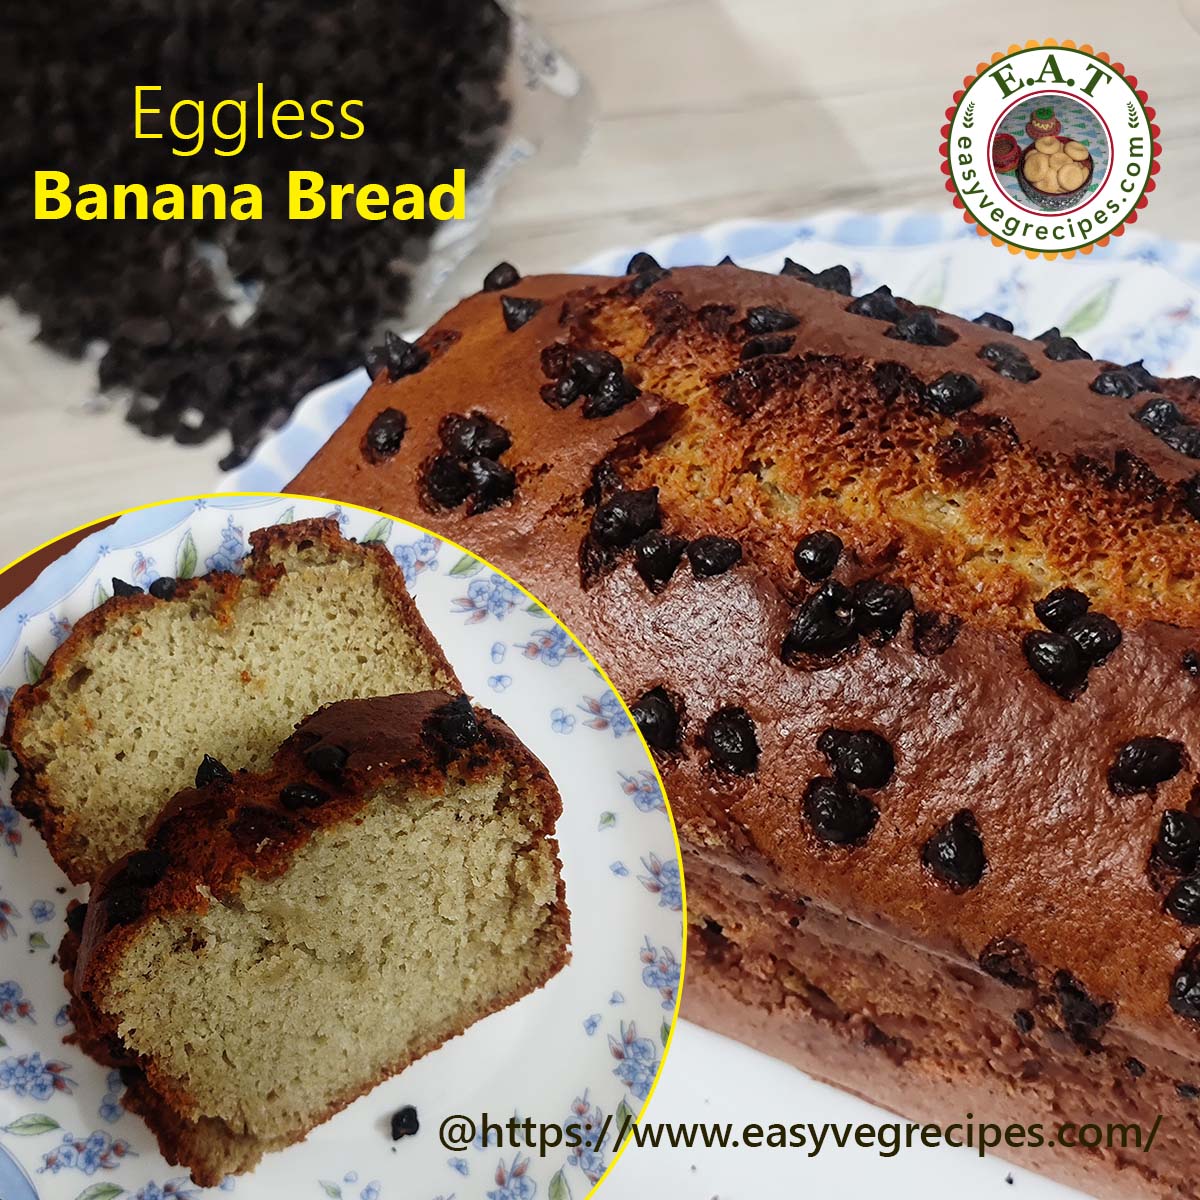
Eggless Date cake
Eggless Chocolate Cake
Please like, share and subscribe to easyvegrecipes YouTube channel for video recipes. And click the BELL icon for further notifications.
Sponge cake -- Simple, fluffy and super moist eggless cake -- kids favourite
Ingredients:
- 2 and 1/4 Cup Maida/All Purpose Flour
- 1 and 1/2 Cup Curd
- 3/4 Cup Oil
- 1 and 1/4 Cup Sugar/Castor Sugar
- 1/2 Tsp Baking Soda
- 1 Tsp Vanilla essence
- 1 and 1/2 Tsp Baking Powder
- a Pinch of Salt
Procedure:
- Preheat the the oven at 180 degrees celsius for 10 mins.
- Grease and dust a 8" round baking pan. Keep aside.
- In a mixing bowl, add curd and baking soda.
- Mix it well and keep aside for 2 minutes.
- This would make curd fluffy and frothy.
- Then add oil, sugar and vanilla essence into the curd mixture.
- The recipe suggested to use castor sugar, but I do not have it at home. So I powdered the sugar and used it.
- You can also do either way.
- Mix it well.
- Sieve maida, baking powder and salt into the wet ingredients.
- Nicely mix all of them together using a spatula.
- While mixing the batter use fold and cut method, so that there won't be any lumps formed.
- Do not over mix the batter.
- Pour the eggless sponge cake batter into the greased baking pan.
- The eggless spong cake batter should be a bit thick.
- Bake in pre heated oven at 180 degrees celsius for about 30 to 35 minutes.
- Once done check the cake by piercing with a clean knife or toothpick.
- If the stick comes out clean then the cake is done.
- Cool the eggless sponge cake on a wire rack before cutting.
- Serve eggless sponge cake with a cup of hot milk or just enjoy it.